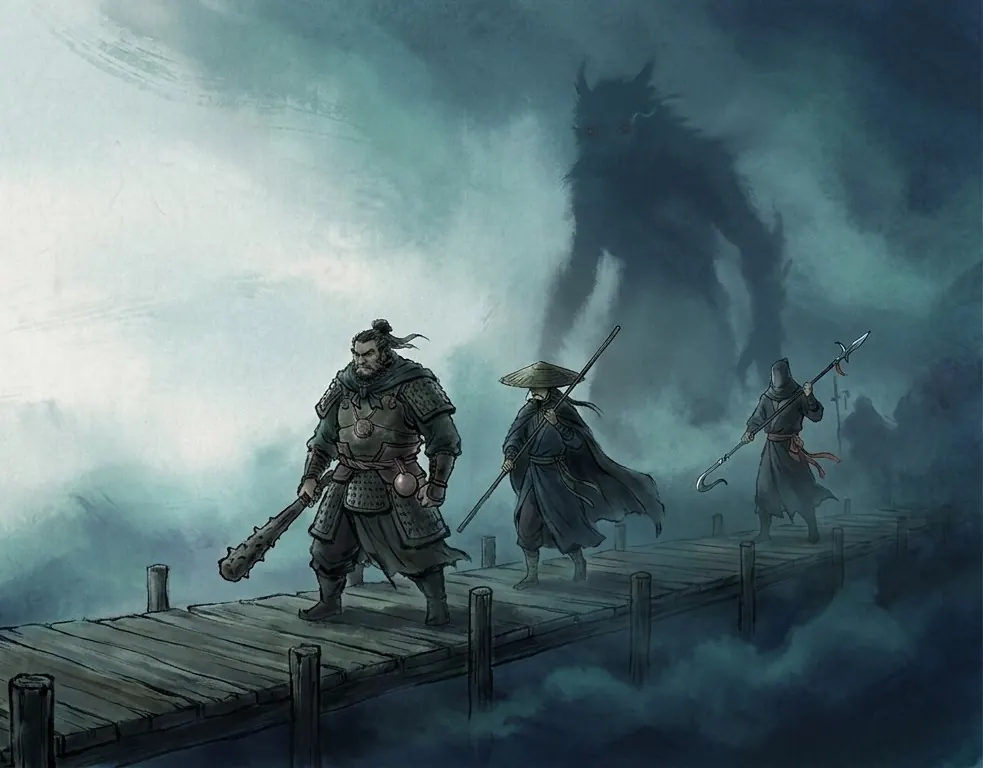
The words of the Duel
From the Codex, Chapter III
- Duel: a fight, played in Rounds. No grid. A fight that matters may use a map of Zones.
- Round: both sides choose a Stance, reveal, and you make 1 Check.
- Stance: Attack, Guard, Feint or Qi Burst. Each Stance beats 1 Stance and loses to 1.
- Clash: the 2 Stances compared. You win the Clash, you lose it, or it is a Draw.
- Land: what the result table gives a side. When your Stance lands, its harm and effect happen.
- Graze: a Hit that deals 1 harm and no Stance effect.
- Hit: anything that lands: a Stance or a Graze.
- harm: the points a Hit deals. When you take harm, you reduce your Ward first.
- Ward: how much harm you turn aside. When it runs out, Hits become Wounds. Guard is a Stance; Ward is the track.
- Momentum: 0 to 3. You build it in the Duel and spend it on bigger moves.
- Defense: a foe's number. It is the Difficulty of every Check you make against that foe.
- Outranked by N: the foe's Realm is N above yours. Outranking by N: yours is N above the foe's.
- Foe: whoever you fight: a Minion, a Mob, a Rival or a Boss.
How a Duel works
From the Codex, Chapter III
Every Round, you and your foe each choose a Stance in secret. You reveal them together. The Clash decides who has the upper hand. Then you make a Check, and the result table says whose Stance lands. Foes never roll: the player always holds the die.
A Minion falls in 1 Round. Weapons change the story, not the numbers. A spear lets you fight from a boat; a bow lets you start a Duel from a rooftop. The Stances stay the same. When the ground itself should matter, use Zones (below).
The 4 Stances
From the Codex, Chapter III
| Stance | Check uses | Beats | Loses to | When it lands |
|---|---|---|---|---|
| Attack | Force | Feint | Guard | 2 harm |
| Guard | Grace | Attack | Qi Burst | 1 harm, and you gain 1 Momentum |
| Feint | Guile | Qi Burst | Attack | 1 harm, and the foe is Off Balance |
| Qi Burst | Insight | Guard | Feint | 3 harm (spend 1 Qi) |
The circle. Attack beats Feint. Feint beats Qi Burst. Qi Burst beats Guard. Guard beats Attack. Any other pair, and 2 of the same Stance, is a Draw.
- Attack: a straight strike. It punishes a slow trick.
- Guard: you catch the blow and answer it. When your Guard lands, you gain 1 Momentum.
- Feint: you show one thing and do another. When your Feint lands, the foe is Off Balance.
- Qi Burst: you release gathered qi in 1 wave. When you choose it, you spend 1 Qi at the reveal. It breaks a Guard, and it wastes itself on a Feint.
Your Stance sets the Attribute of your Check: Attack uses Force, Guard uses Grace, Feint uses Guile, Qi Burst uses Insight. Your best Attribute pulls you toward 1 Stance, and a clever foe knows it.
Predictable. If you choose the Stance you chose last Round, you are Predictable: you take -2 on this Round's Check, and the foe chooses the Stance that beats yours. Solo, the foe takes that Stance without rolling. If the foe has already revealed its Stance (it is Off Balance, or you used Lantern Heart Sutra or Foresight), it keeps that Stance, and you still take the -2.
Example. Suyin chose Feint last Round. If she chooses Feint again, she takes -2 and her foe answers with Attack. She switches to Guard.
The Round
From the Codex, Chapter III
- Reveal first? If the foe is Off Balance, or you use Lantern Heart Sutra or Foresight, the foe reveals its Stance before you choose.
- Choose a Stance in secret. At a table, players set a die to a face or hold a card. The GM chooses the foe's Stance, or rolls it on the foe's Temperament table. Solo: you choose yours first, then roll the foe's.
- Name your Technique, if one goes with your Stance.
- Reveal both Stances. You spend your costs now: 1 Qi for a Qi Burst, plus each Technique's Cost.
- Compare the Stances. You win the Clash, lose it, or it is a Draw. If 1 side Outranks the other, that side wins a Draw. Then apply any Technique that changes the Clash.
- Finisher? If you have 3 Momentum and did not lose the Clash, you may spend all 3 now.
- Make the Check: d20 + your Stance's Attribute + Realm Bonus, against the foe's Defense. If you won the Clash, +2. If you lost it, -2. If you are Predictable, another -2. You may Push for +3 as usual.
- Look up the result table. You may still Raise the result: Borrow from Heaven, or Break the Limit.
- Apply harm and effects, yours first. A foe that your Hit takes out, or that Yields, lands nothing. Then add up the Round's Momentum, yours and the foe's.
The result table
| Success | Partial Success | Failure | |
|---|---|---|---|
| You win the Clash (+2) | your Stance lands | your Stance lands, the foe Grazes | the foe Grazes |
| Draw | your Stance lands | your Stance lands, the foe's Stance lands | the foe's Stance lands |
| You lose the Clash (-2) | you Graze | you Graze, the foe's Stance lands | the foe's Stance lands |
- Your Stance lands: it deals its harm and its effect from the Stance table.
- You Graze: you deal 1 harm, with no Stance effect.
- Critical Success: as a Success, and your Hit deals 1 extra harm.
Example. Suyin (Insight +3, Realm Bonus +1) chooses Qi Burst. Her foe, Defense 20, chooses Guard. Qi Burst beats Guard: she wins the Clash and adds 2. Her bonus is +6. She rolls 11: total 17, 3 below 20. Partial Success. Her Qi Burst lands for 3 harm, and the foe Grazes her.
Momentum and Finishers
From the Codex, Chapter III
You gain 1 Momentum (never more than 3): - when you win a Clash; - when a foe that Outranks you Wounds you (Defiance); - when your result is a Success or a Critical Success, even one you Pushed or Raised; - when your Guard lands.
You lose 1 Momentum when a foe's Feint lands on you.
Timing. At the end of each Round, you add up the Momentum you gained and lost this Round, then change your Momentum by that total. It never goes below 0, and you cannot spend Momentum in the Round you gained it.
Spending Momentum: - 1 Momentum, after the Check: 1 Hit you land deals 1 extra harm. - 2 Momentum, Seal only (Foresight): before you choose your Stance, the foe reveals its Stance first. Foresight does not work while you are Outranked. - 3 Momentum: Finisher. You declare it after the reveal, before you roll, if you did not lose the Clash (when you are Outranked by 1, even if you did: see Defiant Finisher). If your Stance lands this Round, its Hit marks a Wound even if Ward is left, and it ignores Realm Suppression when you are Outranked by 1. You spend the 3 Momentum even if the Check goes against you. Give the move a name. You will want to say it out loud.
Momentum empties when the fight ends.
Example. Hao Sanniang has 3 Momentum. Her Attack meets a Feint: she wins the Clash. She declares a Finisher, Shoulder of the Mountain, and spends all 3. She gets a Partial Success. Her Attack lands for 3 harm (a Fist hits harder) on a foe with Ward 4: 1 Ward remains, but the Finisher marks a Wound anyway.
Zones
From the Codex, Chapter III
The ferry deck tilts. The stair narrows. Where you stand starts to matter.
Most Duels need no map. For a fight that matters, use a Scene Map of 3 to 5 Zones: a deck, a stair, a stretch of reeds. A line between 2 Zones means they are connected. Each Zone has 0 to 2 Zone Traits. Use one of the 14 Scene Maps that come with this book, or build one with the Map table. When an adventure sets the start, its setup wins over the map's suggested start.
Every fighter stands in 1 Zone. Mark it with a coin or a die.
Zone Traits
| Trait | What it does | For example |
|---|---|---|
| High | While both sides stand here, the side that got here first holds the High ground: +1 to your Checks, or +1 to the foe's Defense. If only 1 side's Stance lands, that side takes it. | a roof, a balcony, a stone stair |
| Unstable | A Feint that lands on someone here deals 1 extra harm. | a rope bridge, a boat, loose scree |
| Water | An Attack that lands on someone here deals 1 less harm, never less than 1. | a river ford, a paddy, a flooded hall |
| Screened | A Stance from another Zone cannot land on you here. Start a Duel here unseen, and you may Ambush. | bamboo, stacked crates, a crowd |
| Hazard | Whoever ends a Round here takes 1 harm. | fire, a cliff edge, a water wheel |
| Exit | You Flee from here (Red Tide Step excepted). With no foe in your Zone, you need no Check. | a gate, a skiff, the road out |
| Dense Qi | A Qi Burst made here costs no Qi. A Fist marks no Strain for it. | a shrine, a spring, an old seal |
A Trait works the same for you and for the foe. Give a Zone 2 Traits at most.
Techniques on a map. 5 Techniques use Zones: - Reach: Pole-Sweep and Salt Burn. - Leap: Chain-Stair Step (with your Feint) and Thunder in the Bones (not from Water). - Hundred-Step Return: when your Guard lands, you may move to a connected Zone at the end of the Round.
Fleeing on a map. You Flee from an Exit. If a foe shares your Zone, make the Flee Check as usual. If none does, you need no Check: you are gone. The one exception is Red Tide Step, which lets you Flee from any Zone.
Terrain and the Realm gap. Terrain can help you when you are Outranked by 1. It never overturns a gap of 2 or more: at that gap, Zone Traits do nothing for either side. Only an Exit still works, because running is still running.
What the numbers say. On the 14 Scene Maps, terrain moves an equal Duel's odds by 8 in 100 at most, for good or ill. No Trait wins on its own: each one helps the side that uses it. Realm Suppression still decides more. Outranked by 1, even your best map gives you about 15 Duels in 100.